
How To: Create a Workflow (Automation) in Flodesk
“What’s a workflow?” you might ask. It’s Flodesk’s fancy word for automation. A workflow is simply a trigger and an action or series of actions.
Example:
You welcome a new customer and add their email to Flodesk (trigger).
They receive an email or series of time-delayed emails (action).
Get creative! The possibilities are endless. For beginners, we recommend limiting workflows to welcome emails and quiz follow-ups. Keep in mind, workflows are emails that will automatically send when a subscriber is added - ideal for welcoming newbies!
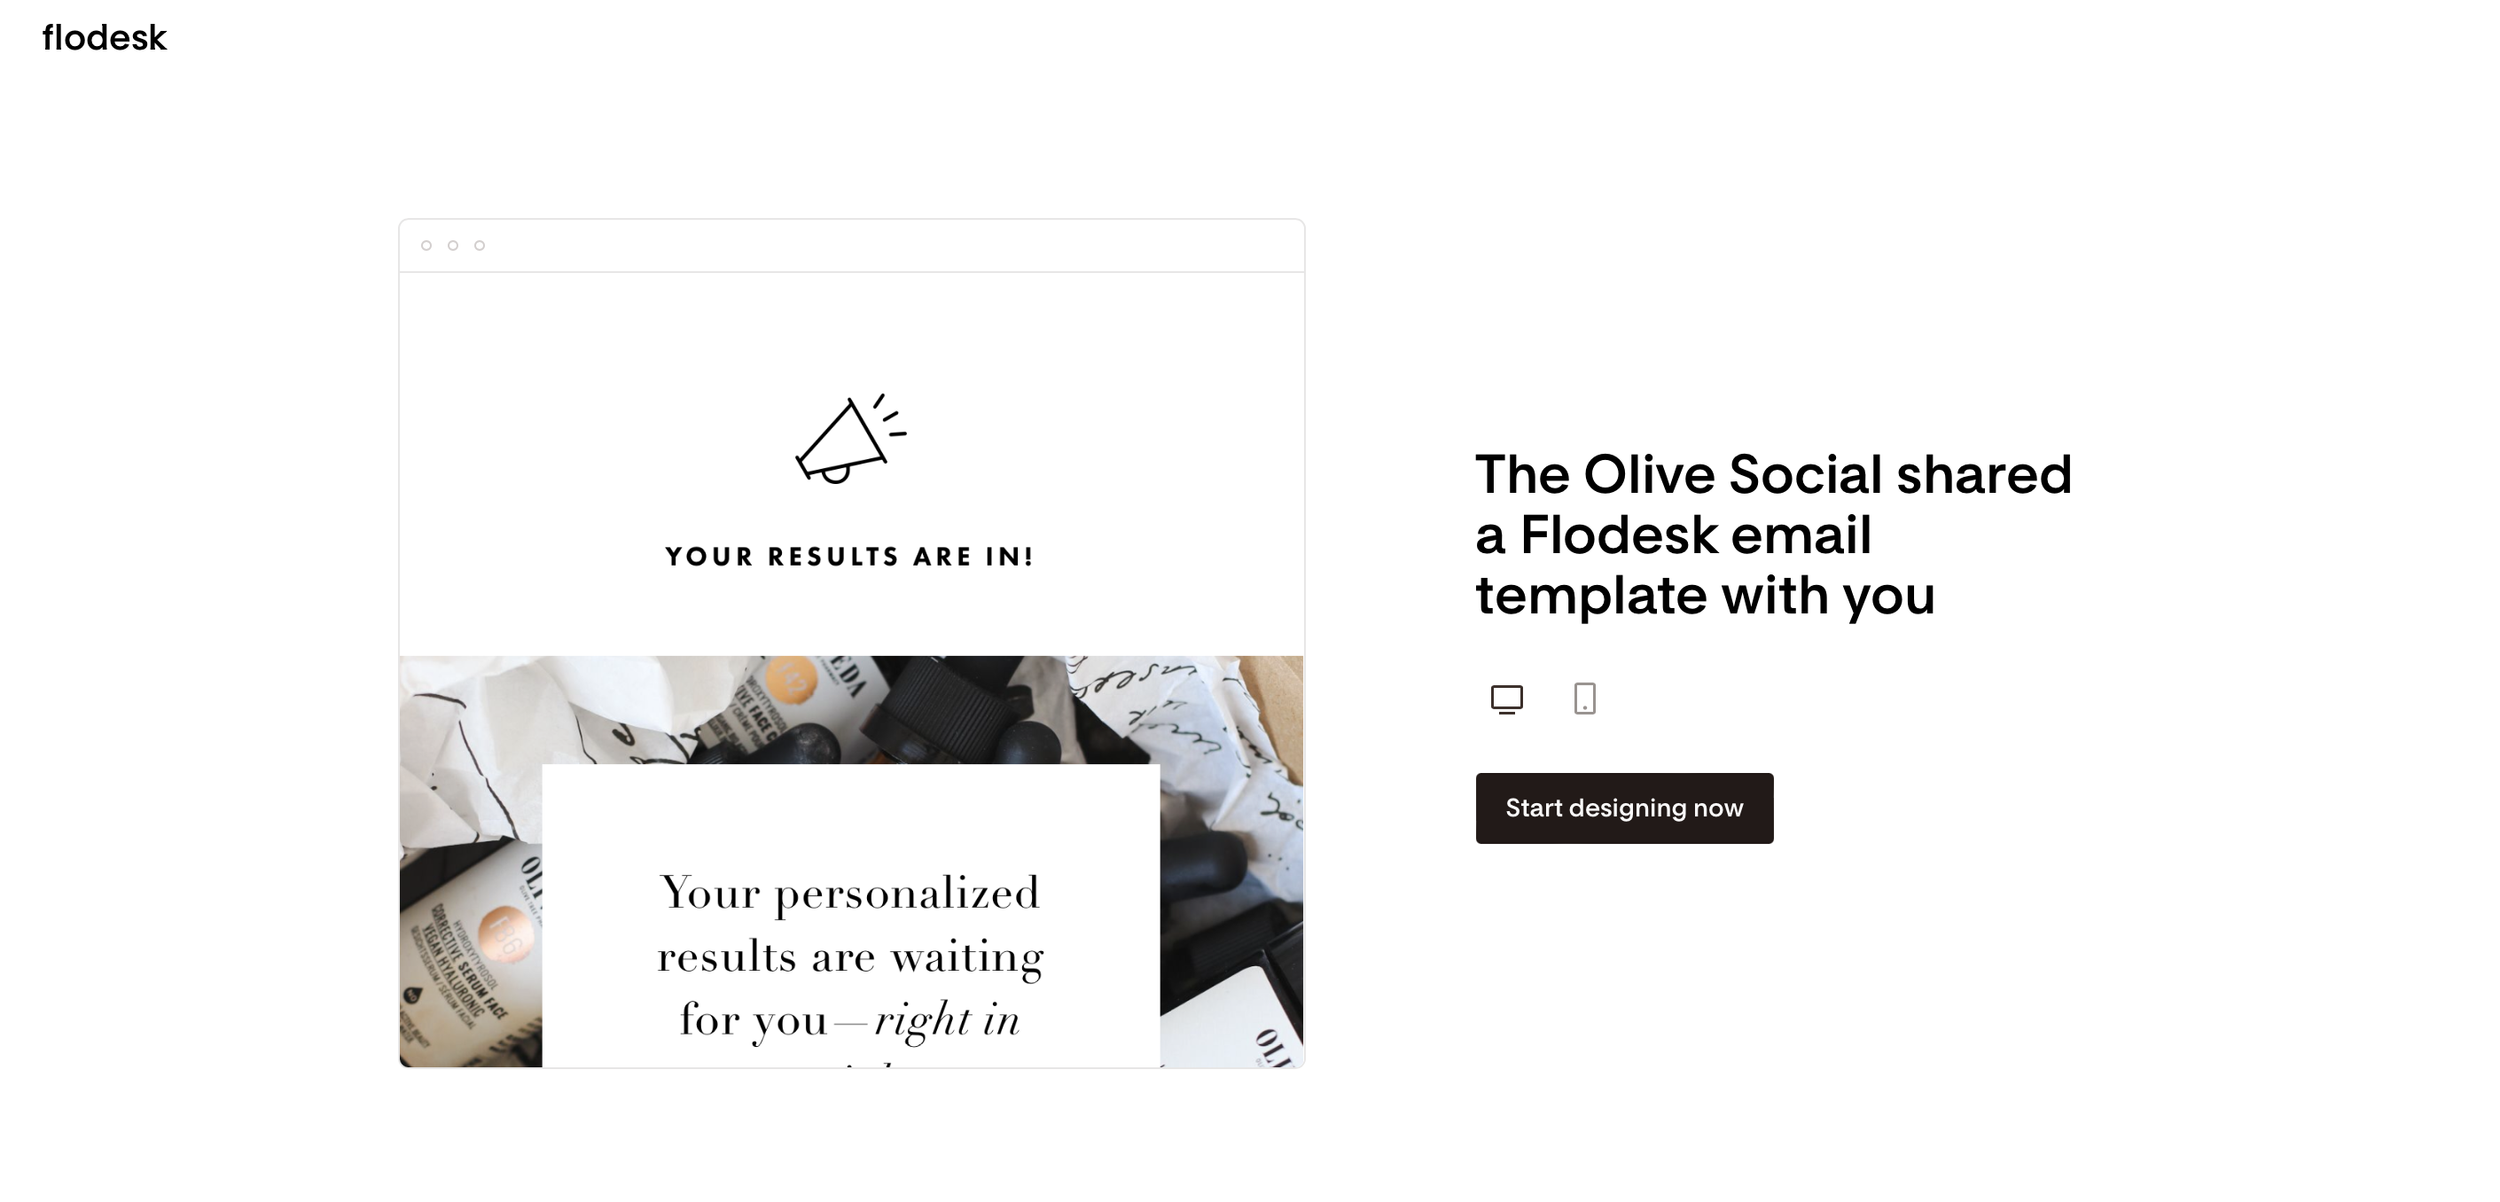
Here’s how to set up a workflow in Flodesk. For the purpose of this tutorial, we will be using the “Your results are in!” template.
*Create a Flodesk account before following these steps. Click here for 50% off your first year.
1. Click the template link in your portal or listed above.
2. The template will import into your Flodesk account. Click “Start designing now” to complete the import.
3. For the purpose of the workflow, we are simply importing the template. Although you will be prompted to edit, click the Flodesk logo in the top left corner. You will customize the template later.
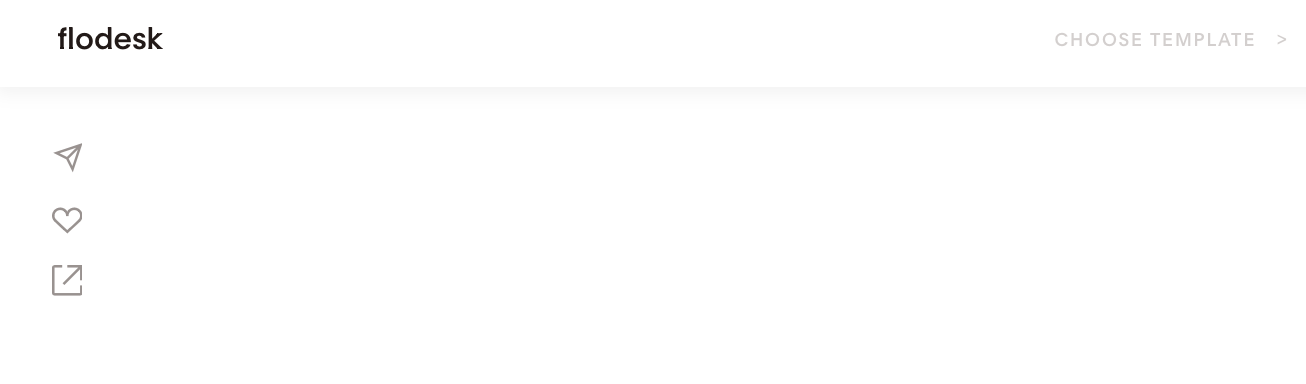
4. Click “Workflows” at the top of your screen. Then “New workflow” on the righthand side.

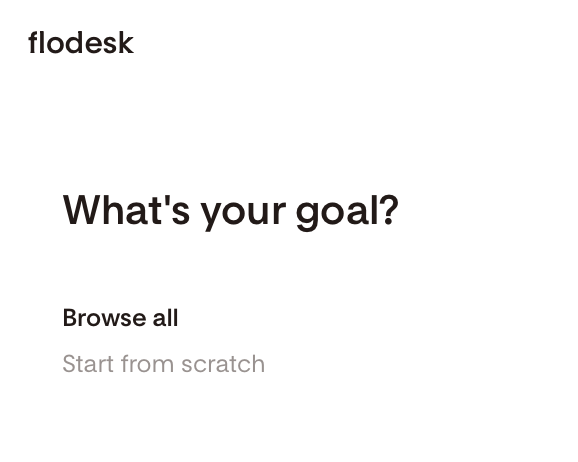
5. Click “Start from scratch”.
6. Name your workflow whatever you’d like. This is an internal name, your subscribers won’t see it.
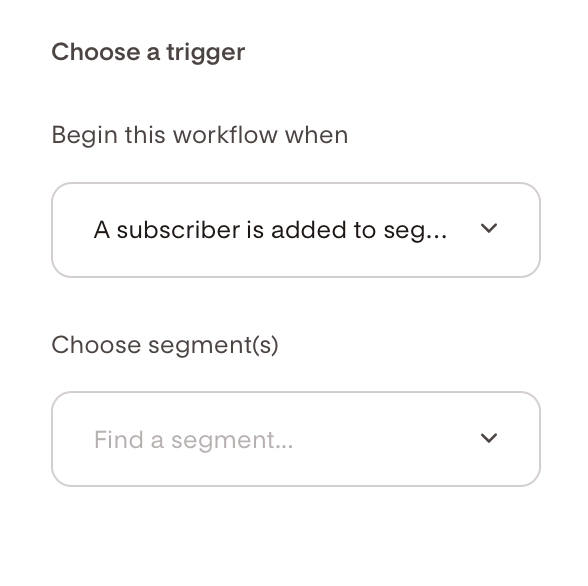
7. Click “Add trigger”.
8. The workflow will begin when a subscriber is added to a segment. “Segment” is Flodesk’s fancy word for a tag or specified list. We recommend selecting obvious and descriptive names for your segments to keep things simple. For this workflow, you could use “Quiz Takers” or “Quiz Results”.
9. Once the trigger and segment are selected, click the plus sign under “Trigger”. Then, select “Email”. This is your first action.


10. Click “Duplicate an existing email”.
11. Select the template you previously imported.
12. Click “edit”.

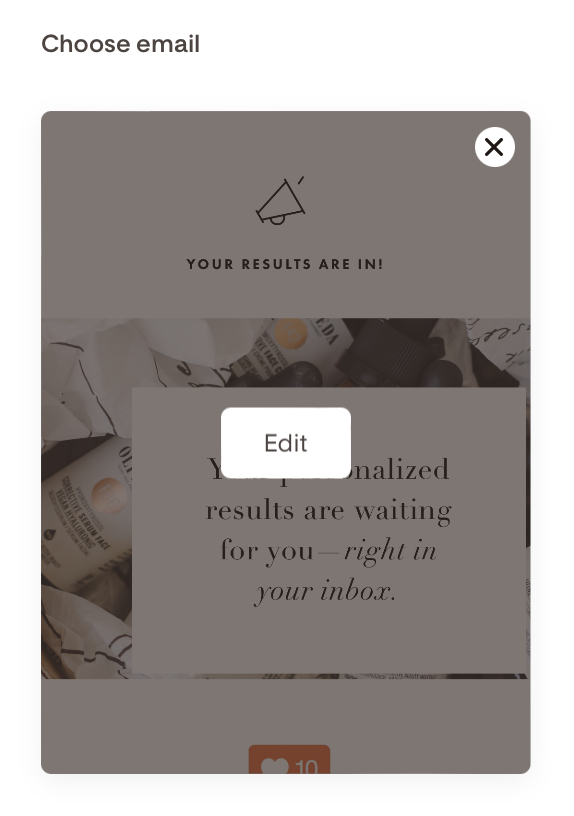
Personalize the template as much (or as little) as you’d like! We recommend changing:
All links/buttons to your website.
The signature at the bottom.
Connecting your Instagram account.
Once you’re satisfied with the design and content, click “Finish” in the top right corner.
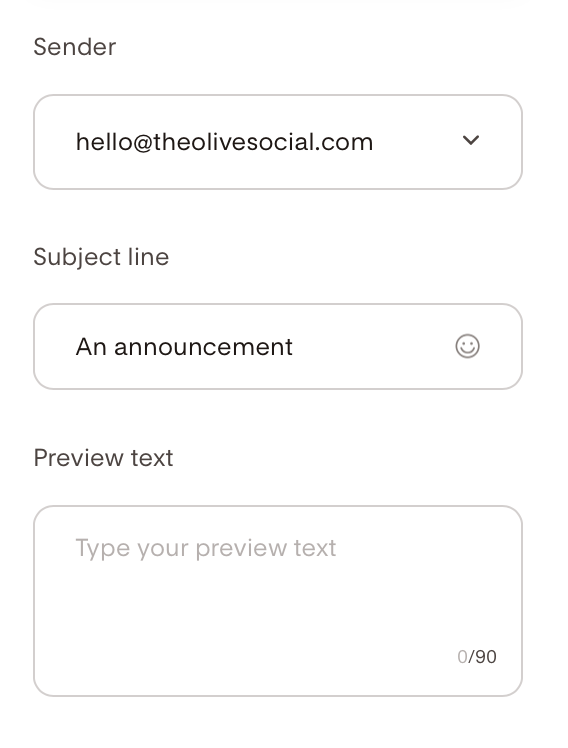
13. Be sure to update the subject line and preview text before moving forward.
14. Click “publish” in the top right corner.
*Wait to add any new subscribers until the workflow is published. Automations will not work retroactively.
*At the time of this publication, Oliveda’s back office does not offer reports for OliveBrain quiz takers. Be sure to flag or star the notification emails from corporate to keep all prospect info in a safe place.
15. Click “Audience”.
16. Click “Add subscriber.


*Flodesk allows you to add subscribers individually or import a CSV file. For quiz takers, it will likely be easier to add their information individually. However, for the Customer Welcome Email, you can export a CSV file of customer information from your back office. Log into your back office, click “Business”, “Report Center”, then “Create Report”.
17. Select the same segment you chose/created when publishing the workflow.
Ta-da! You did it! You’re a customer care extraordinaire! As new quiz takers and customers come your way, hop back into Flodesk and simply add them to your audience. Rest easy knowing you’ve already done the heavy lifting (creating the workflow), and allow the automation to take over. Your subscribers will be so impressed!